Email format error
Email cannot be empty
Email already exists
6-20 characters(letters plus numbers only)
The password is inconsistent
Email format error
Email cannot be empty
Email does not exist
6-20 characters(letters plus numbers only)
The password is inconsistent


Installation Tips for Aluminium T-Angle: A Step-by-Step Guide
Introduction
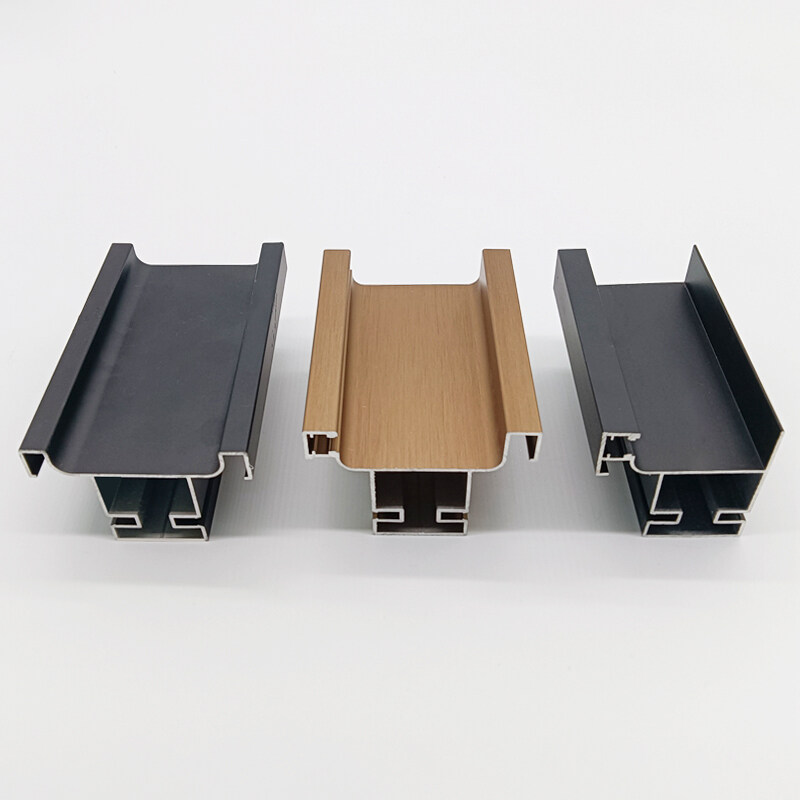
Aluminium T-angle is a versatile and durable material commonly used in various construction and DIY projects. Whether you’re installing it as a decorative accent or for structural purposes, proper installation is crucial for a successful outcome. In this blog post, we will provide a step-by-step guide and valuable tips to ensure a smooth and professional installation of aluminium T-angles.
Step 1: Gather the necessary tools and materials.
Before starting the installation process, gather all the tools and materials you’ll need. This may include a measuring tape, pencil, mitre saw or hacksaw, drill, screws or nails, level, and safety equipment such as gloves and safety glasses.
Step 2: Measure and mark the desired length.
Using a measuring tape, determine the desired length of the aluminium T-angle. Mark the measurement on the trim using a pencil. Double-check your measurements to ensure accuracy.
Step 3: Cut the aluminium T-angle.
Using a mitre saw or hacksaw, carefully cut the aluminium T angle according to the marked measurement. Ensure that the trim is securely clamped before cutting to prevent it from moving and causing a crooked cut. Take your time to achieve clean and precise cuts.
Step 4: Prepare the surface.
Before attaching the aluminium T-angle, ensure that the surface is clean, dry, and free from any debris or contaminants. Use a suitable primer or adhesive promoter to enhance the adhesion between the trim and the surface, if necessary.
Step 5: Position and align the aluminium T angle.
Place the cut aluminium T-angle in the desired position on the surface. Use a level to ensure that it is straight and aligned correctly. Make any necessary adjustments before proceeding.
Step 6: Secure the aluminium T angle.
Using a drill, create pilot holes along the length of the aluminium T angle, ensuring that they are evenly spaced. This will prevent the trim from splitting or cracking when fastening it to the surface. Use corrosion-resistant screws or nails specifically designed for aluminium to secure the trim in place. Be mindful of the recommended torque specifications provided by the manufacturer.
Step 7: Check for level and alignment.
After securing the aluminium T angle, use a level to double-check that it is still straight and aligned correctly. Make any necessary adjustments if needed.
Step 8: Fill gaps and caulk joints.
If there are any gaps or joints between the aluminium T-angle and the surface, use a suitable filler or caulk to fill them. This will provide a seamless and finished appearance while also preventing moisture or debris from entering the gaps.
Step 9: Finishing touches.
Once the installation is complete, take the time to inspect the trim for any sharp edges or burrs. Use a file or sandpaper to smooth out any rough areas. Additionally, consider applying a high-quality paint or finish to protect the aluminium T-angle and enhance its aesthetics.
Step 10: Safety precautions.
Throughout the installation process, prioritise safety by wearing appropriate personal protective equipment (PPE), such as gloves and safety glasses. Take the necessary precautions to ensure a safe working environment.

Conclusion
By following these step-by-step installation tips, you can ensure a successful and professional installation of aluminium T-angles. Remember to measure accurately, use proper cutting techniques, prepare the surface adequately, secure the trim with the correct fasteners, and prioritise safety. With attention to detail and careful execution, your aluminium T-angle installation will enhance the aesthetics and functionality of your project.

